
Kitchen Sink, Uncategorized
Kitchen Sink Waste Kits
Jul
An efficient Kitchen Sink Waste Kits relies heavily on a high-performing modern drainage system to maintain complete operational hygiene. Choosing the correct anti-clogging sink plumbing stops wastewater backup, eliminates foul odors, and keeps your food preparation zone functioning flawlessly. This comprehensive technical guide details everything required to select, install, and optimize your kitchen plumbing configuration for long-term reliability.
The Ultimate Kitchen Sink Waste Kits Blueprint
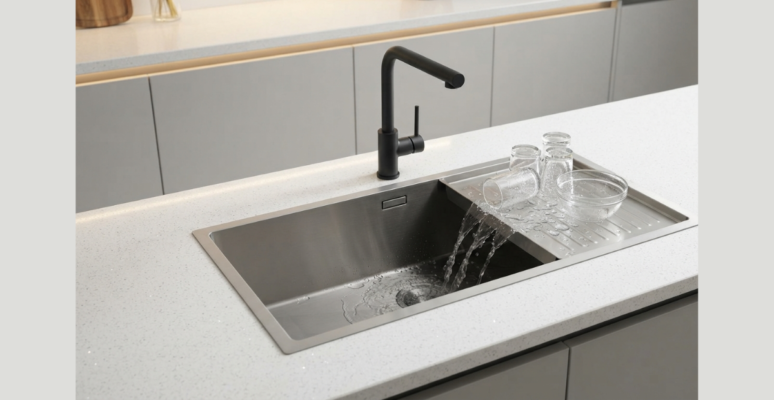
Resolving drainage problems requires understanding how specific components manage wastewater velocity and solid food particles. Modern premium waste kits combine physical filtration barriers with advanced hydraulic trap geometries to guarantee rapid drainage.
[WASTE BASKET STRAINER] -> Catches large food scraps & debris
[SINK TAILPIECE] -> Directs vertical water flow downward
[ANTI-SIPHON P-TRAP] -> Holds a permanent water seal to block sewer gases
[WALL OUTLET PIPE] -> Channels waste into the main home drainage line
1. The Waste Strainer Basket
This component acts as the primary physical defense line for your sink basin. Premium units use grade 304 stainless steel grids to catch vegetable peelings, rice grains, and stray debris while allowing water to pass unimpeded.
2. The Overflow Assembly
Integrated overflow pipes prevent accidental kitchen flooding by channeling excess water back into the main drain if the primary basin opening is blocked. Flexible corrugated tubing allows this component to adjust easily to different sink depths during installation.
3. The P-Trap Hydraulic Seal
The curved P-trap configuration remains a vital code-required component in kitchen plumbing accessories. It retains a small, controlled amount of clean water after every rinse cycle, creating a physical gas barrier that prevents toxic sewer odors from entering your living space.
Technical Specifications Across Kitchen Sink Waste Kits Footprints
Selecting plumbing infrastructure requires matching your hardware configuration to your daily kitchen workload and spatial constraints.
Small Apartments and Compact Kitchens
Compact living spaces require space-saving plumbing profiles that maximize under-cabinet storage. Low-profile space-saver waste kits utilize tight, right-angle elbow connections to push the bulky P-trap assembly directly against the rear wall. This space-saving design leaves room underneath for items like a drawing dustbin pvc ss or specialized cleaning supply racks.
Medium-Sized Residential Kitchen Sink Waste Kits
Standard family homes need versatile plumbing hardware capable of handling variable volumetric loads from daily dishwashing. Standard 1.5-inch diameter piping provides the ideal balance between self-scouring water velocity and structural clearance. It easily accommodates continuous wastewater discharge from double-basin setups without causing slow-draining pools.
Large-Scale and Commercial-Grade Kitchen Sink Waste Kits
High-capacity culinary spaces require heavy-duty 2-inch drainage configurations to manage massive water volumes efficiently. These systems feature specialized multi-appliance intake junctions designed to safely handle simultaneous high-temperature discharge from professional dishwashers and high-powered garbage disposals.
Technical Comparison of Core Drainage Accessories
| Accessory Type | Best For | Key Benefit | Ideal Kitchen Size |
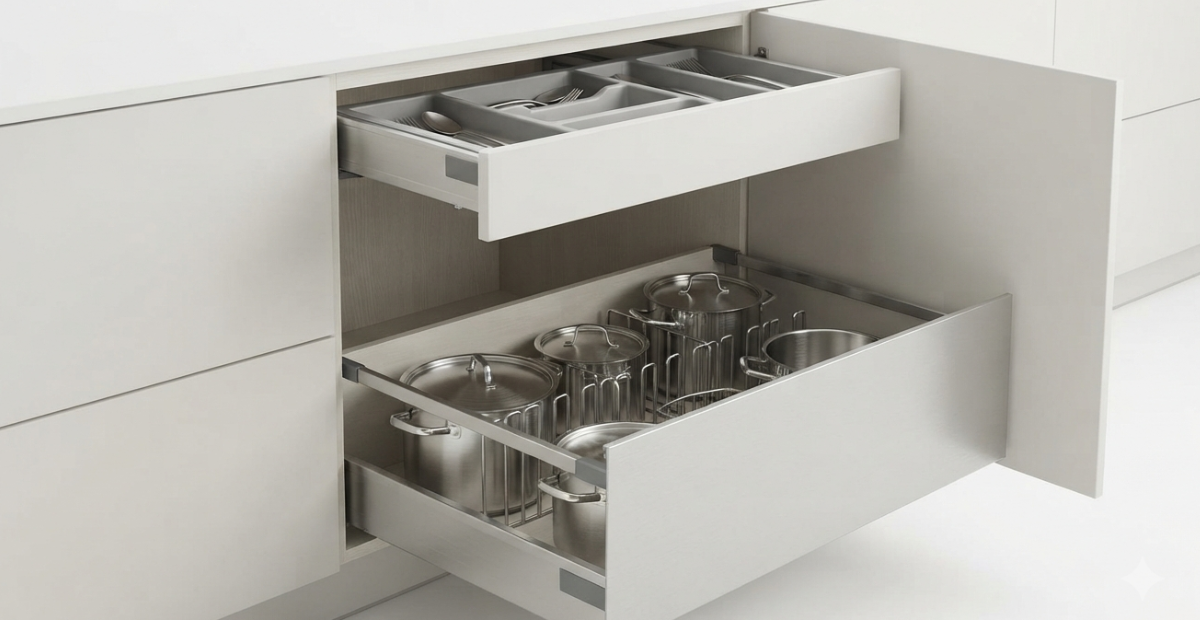
| Pull-Out Basket | Base cabinets | Easy access to heavy pots | Small–Medium |
| Hanging Rack | Empty walls | Saves valuable counter space | Small apartments |
| Sink Waste Kit | Drainage area | Prevents clogs and foul odors | Any kitchen size |
| Chimney Hood | Above the stove | Removes grease and strong smoke | Medium–Large |
Step-by-Step Sink Waste Kit Installation Guide
Installing a new sink waste kit requires methodical preparation, exact alignment, and precise torque management. Follow this systematic technical procedure to ensure a leak-free setup.
Step 1: Prep the Sink Basin Opening
Completely remove all old plumber’s putty, silicone residue, and debris from the upper and lower rim of the sink drain hole. Clean the surfaces thoroughly using rubbing alcohol to ensure a completely smooth, dry area for the new seals.
Step 2: Install the Strainer Body
Apply a uniform, continuous bead of premium silicone sealant around the underside of the stainless steel strainer flange. Lower the strainer body vertically through the top of the sink hole, making sure it sits perfectly centered without shifting.
Step 3: Secure the Under-Sink Rubber Washers
From underneath the cabinet, slip the thick rubber friction washer onto the exposed strainer threads, followed directly by the paper friction ring. Thread the heavy locknut on by hand, then tighten it securely using a dedicated spud wrench or locking pliers.
Pro Tip: Avoid over-tightening the under-sink locknut. Applying excessive force can warp rubber gaskets or crack composite sinks, leading to persistent, slow leaks that are difficult to isolate later.
Step 4: Assemble and Align the P-Trap
Slide the slip-joint nuts and matching plastic bevel washers onto your straight tailpiece and curved trap arm sections. Join the pipes together, adjust the heights to line up with the wall outlet pipe, and tighten the compression nuts firmly by hand.
Five Common Plumbing Mistakes and How to Fix Them
1. Misaligned Slip-Joint Washers
- The Problem: Placing the tapered plastic washer backward causes immediate, steady leaks at the pipe joints under pressure.
- The Fix: Always face the pointed, tapered edge of the plastic bevel washer toward the open receiving joint before tightening down the nut.
2. Double-Gasketing the Strainer Flange
- The Problem: Using both plumber’s putty and a thick pre-packaged rubber gasket together on the top basin side lifts the flange, creating an uneven seal.
- The Fix: Use only a thin bead of silicone under the top flange, reserving rubber gaskets strictly for the dry underside of the sink basin.
3. Creating Improper Drain Slopes
- The Problem: Angling horizontal drain lines upward toward the wall connection disrupts natural gravity flow, causing stagnant water and debris build-up.
- The Fix: Maintain a strict, code-compliant downward slope of 0.25 inches per linear foot along all horizontal waste piping runs.
4. Neglecting Routine Deep Cleaning
- The Problem: Allowing grease and organic biofilms to accumulate inside the P-trap slows water flow and generates sour Kitchen Sink Waste Kits odors.
- The Fix: Flush the drain lines monthly with boiling water mixed with washing soda, or install a dedicated sink support rack to keep active washing zones clear of debris.
5. Using Chemical Drain Openers
- The Problem: Harsh chemical cleaners generate intense exothermic heat that warps thin-walled PVC pipes and damages rubber seals.
- The Fix: Clear stubborn physical clogs using a mechanical drain auger, zip-tie tool, or manually remove and clean out the P-trap loop over a bucket.
Smart Upgrade Trends for 2026 Kitchen Sink Waste Kits
Kitchen Sink Waste Kits drainage systems are evolving beyond simple PVC pipes into highly optimized, low-maintenance hardware solutions.
High-Performance Hydrophobic Elements
Modern waste kits feature advanced interior glazes that repel organic matter and oily films. These smooth surfaces prevent grease from binding to the pipe walls, significantly reducing slime buildup and eliminating common Kitchen Sink Waste Kits odors at the source.
Anti-Microbial Material Science
Premium plumbing accessories now integrate silver-ion antimicrobial compounds directly into polymer basin liners and trap bodies. This structural barrier continuously interrupts bacterial reproduction, keeping the under-sink environment hygienic.
Integrated Modular Junctions
Modern sink designs focus on seamless integration across all appliances. Multi-port waste kits provide dedicated, pre-engineered connection ports for water filtration systems, modern sink basins, and high-efficiency appliance drains without requiring complex custom piping.
[Filter System Drain] ──┐
├──> [Multi-Port Waste Kit] ──> [Main Home Sewer]
[Main Sink Basin] ──┤
Pro Tips for Maintaining Peak Plumbing Performance
Maintaining an optimized drainage system requires adopting smart Kitchen Sink Waste Kits habits alongside choosing high-quality plumbing hardware. Never pour hot cooking fats, vegetable oils, or greasy residues directly down your drain opening. Liquid grease cools quickly inside underground plumbing lines, solidifying into dense blockages that catch other solid food debris.
Additionally, always run cold water for fifteen seconds after washing dishes to flush lingering food particles out of the P-trap and into the main sewer line. For double-basin setups, consider upgrading to a high-end perfo cutlery basket next model to organize utensils safely away from active drainage points during busy cleaning tasks.
Next Steps & Resource Directories
Browse Full Directories
[Main Hub] > [Kitchen Sinks & Drainage Systems Solutions]
Related Articles
