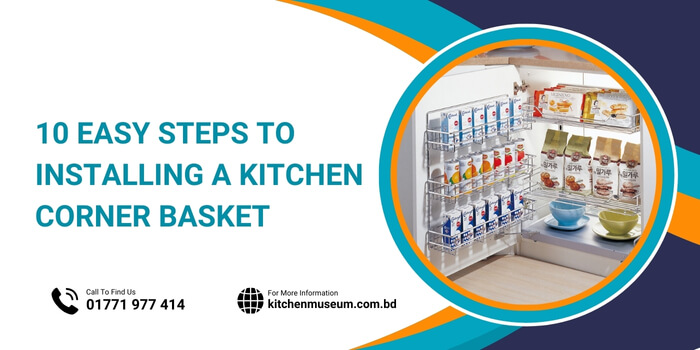
Corner Basket
10 Easy Steps to Installing a Kitchen Corner Basket
Product Details of Kitchen Corner Basket:
Maximizing the storage space in your kitchen is essential for keeping it organized and clutter-free. One often overlooked area for storage optimization is the kitchen corner. Installing a corner basket in your kitchen can efficiently utilize this space, providing easy access to frequently used items and minimizing the hassle of reaching into the depths of your cabinets. In this guide, we’ll walk you through 10 easy steps to installing a kitchen corner basket, transforming your kitchen into a more functional and organized space.
Step 1: Gather Your Supplies Before you begin the installation process, gather all the necessary supplies. You’ll typically need a corner basket kit (including the basket, mounting hardware, and instructions), a power drill, screws, a measuring tape, a pencil, a level, and a screwdriver.
Step 2: Measure the Space Start by measuring the interior dimensions of the corner cabinet where you plan to install the basket. Make sure to account for any obstructions such as hinges or pipes. These measurements will help you choose the appropriate size of the corner basket.
Step 3: Choose the Right Basket Select a corner basket that fits the dimensions of your cabinet and meets your storage needs. Consider factors such as the basket’s material, weight capacity, and design. Wire baskets are popular for their durability and visibility, allowing you to easily see the contents.
Step 4: Mark the Mounting Points Using a pencil, mark the mounting points inside the cabinet according to the installation instructions provided with the corner basket kit. Typically, you’ll need to mark points for attaching the mounting brackets to the cabinet walls or door.
Step 5: Drill Pilot Holes With the mounting points marked, use a power drill to drill pilot holes at each marked location. Be sure to use a drill bit size recommended by the manufacturer for the type of screws included with your corner basket kit.
Step 6: Attach Mounting Brackets Next, attach the mounting brackets to the interior walls or door of the cabinet using screws and a screwdriver. Make sure the brackets are securely fastened and aligned properly to support the weight of the basket.
Step 7: Install the Basket Once the mounting brackets are in place, position the corner basket onto the brackets according to the manufacturer’s instructions. Ensure that the basket is level and securely attached to the brackets.
Step 8: Test the Stability Before loading the basket with items, test its stability by gently pushing and pulling on it. Make any necessary adjustments to the mounting brackets to ensure that the basket is securely in place.
Step 9: Organize Your Items Now that the corner basket is installed, take advantage of the additional storage space by organizing your kitchen items. Consider using the basket to store pots, pans, baking sheets, or other bulky items that are difficult to fit in conventional cabinets.
Step 10: Enjoy Your Organized Kitchen Step back and admire your handiwork! With the corner basket installed, you’ll enjoy easier access to your kitchen essentials and a more organized cooking space. Say goodbye to rummaging through crowded cabinets and hello to a clutter-free kitchen.
Conclusion of Kitchen Corner Basket:
Installing a kitchen corner basket is a simple and effective way to optimize storage space in your kitchen. By following these 10 easy steps, you can transform the unused corners of your cabinets into functional storage solutions. Whether you’re a cooking enthusiast or just looking to declutter your kitchen, a corner basket is a worthwhile addition to any home. So, roll up your sleeves, gather your supplies, and get ready to make the most of your kitchen space!
